Use the following format to cite this article:
Riding lawnmower safety. (2025). Ag Safety and Health Community Community of Practice. Retrieved from https://ag-safety.extension.org/riding-lawnmower-safety/.
There are approximately 10,000 injuries to youth/children each year from lawnmower incidents. Of those injuries, about 5% of the injuries result in an amputation. Most fatalities involved a machine rolling over or running over someone or a person being thrown from or falling off the mower. The following list outlines common mower hazards:
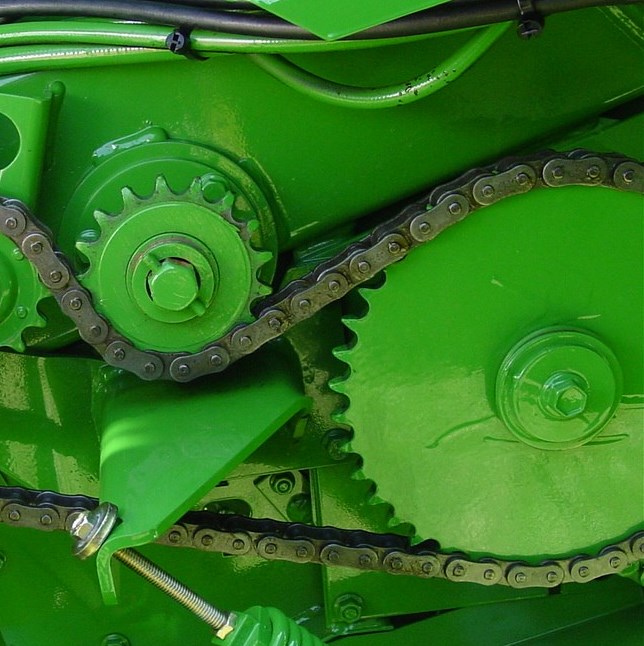
Contact with Mower Blade – A mower is designed to cut grass with a cutting edge that can turn at speeds up to 200 miles per hour. At these speeds, the blade can damage anything or anyone in its path. Some injuries occur when the operator completes maintenance or cleans the discharge chute while the engine is still running. Avoid contact with a turning blade by always turning off the engine and allowing moving parts to completely stop before attempting any work on the mower.
Projectiles – Objects in the yard (e.g., toys, stones, etc.) can become projectiles when struck by the blade, causing the object to travel up to 200 miles per hour after leaving the discharge chute. These projectiles can cause property damage or serious injuries to people in the area. The discharge chute is equipped with a protective guard or deflector to stop objects from becoming projectiles. However, for the deflector to be effective, it must remain in place. The dangerous practice of bungee strapping the deflector up or removing it to increase grass flow from the mower chute defeats the purpose of reducing projectiles.

(Source: Penn State Agricultural Safety and Health)
Overturns – Typically, an overturn incident can occur with a riding lawnmower when the operator is mowing on a steep slope or embankment. During this type of incident, the operator can be pinned under the mower or can come into contact with the mower’s blades.
Runover Incidents – This type of incident typically occurs when the operator does not look behind the mower when backing up on a riding lawnmower and accidentally runs over a child.
Burns – Burns can occur when an operator comes in contact with a muffler or cylinder that was heated during operation and has not cooled. In addition, careless refueling when an engine is hot can result in a fire that can cause serious burns.
Safe Practices for Mowing
► Check the area for hazards each time before you mow. Look for objects that could become projectiles (e.g., dog bones, sticks, etc.) and immovable objects (e.g., pipes or partially buried rocks) that could cause damage to your mower deck or break apart and become a projectile.
► Do not mow in an area where young children are playing because they may not understand the dangers of the mower and the operator may not be able to hear them approaching the machine.
► Never point the mower discharge chute toward people, pets, homes, structures, streets, or vehicles.
► Do not allow extra riders on a mower (even if you are not mowing).
► Never leave a running mower unattended.
► Always allow the mower to cool before refueling it to reduce the risk of a flash fire. Most mowers are fueled by gasoline, which is a highly explosive and flammable material. If you accidentally spill gasoline when refueling, quickly and carefully wipe up the fuel.
► Start the mower outside or in a well-ventilated garage area to reduce the risk of carbon monoxide gas buildup.
► Disconnect the spark plug wire to prevent the mower from accidentally starting before you complete any type of maintenance on the mower.
► Avoid mowing wet grass because it is slippery and the machine’s tires can lose traction and slide. Mowing wet grass can also cause problems because of clogged grass in the discharge chute.
► Know which way to mow when you are mowing on an incline. If you are mowing with a riding lawnmower, mow up and down the slope to reduce the risk of a rollover incident. When using a walk-behind mower, mow across the slope to reduce the risk of contact with the mower blade (e.g., sliding down the hill and getting your feet caught in the mower).
► A slower speed is a safer speed.
► Only mow when operating in a forward gear.
Personal Protective Equipment
► Choose the right clothing and protective equipment. Clothing that is close-fitting is less likely to get caught in moving parts than loose-fitting clothing. Long pants can provide some protection against projectiles not deflected by the rear guard.
► Wear sturdy leather shoes with good traction to protect your feet.
► Always wear hearing protection (e.g., ear muffs or ear plugs) when mowing to reduce your risk of noise-induced hearing loss.
► To protect exposed skin, apply sunscreen (SPF 15 or greater) before mowing, then reapply it every two hours. Wear a wide-brimmed hat.
General Lawn Mower Safety Recommendations
► Do not bypass, disconnect, or remove safety features or controls. Manufacturers continue to make safety improvements to mowers with special features or controls. These safety improvements are designed to reduce your risk of injury.
► Always keep all shields in place.
► When shopping for a new mower, look for the volunteer safety standard (ANSI/OPEI B71.1-2003) for walk-behind and ride-on mowers to ensure that you are purchasing a mower with currently recommended safety features.
► Read, understand, and follow the manufacturer’s recommendations in the owner’s manual for maintenance, operation, and safe operating procedures.
► Keep your mower in good working condition by completing routine maintenance, checking fluid levels, and sharpening the blades.
► Empty grass catchers when partially full to reduce strain on your back.
Use the following format to cite this article:
Riding lawnmower safety. (2025). Ag Safety and Health Community of Practice. Retrieved from https://ag-safety.extension.org/riding-lawnmower-safety/.
Sources:
Lawn mower safety. (n.d.) University of Arkansas Division of Agriculture. Cooperative Extension Service. Retrieved from https://www.uaex.uada.edu/publications/PDF/FSA-1005.pdf.
Schwab, C. (n.d.) Lawnmower safety: Practice lawnmower safety on farms. Iowa State University Extension and Outreach. Retrieved from https://icash.public-health.uiowa.edu/wp-content/uploads/2023/05/Safe-Farm-ISU-Mowing-Safety-1.pdf-1.pdf.
Mowing projectiles. (2020) Mississippi State University Extension Service. Retrieved from https://extension.msstate.edu/newsletters/dawg-tracks-safety-talk/2020/mowing-projectiles.
Lawn mowing campaign. (n.d.) National Children’s Center for Rural and Agricultural Health and Safety – Child Ag Safety Network. Retrieved from https://cultivatesafety.org/campaigns/mowing/.