Use the following format to cite this article:
Dangers of silo gases. (2012) Farm and Ranch eXtension in Safety and Health (FReSH) Community of Practice. Retrieved from http://articles.extension.org/pages/64390/dangers-of-silo-gases.
After harvested forages are placed in a silo, they often produce gases during the early stages of the fermentation process. Silo gases are difficult to detect because they are almost invisible, but signs of such gases may include:
- the formation of a faint yellow or red haze that appears from the top of a conventional silo to the bottom of the ladder chute,
- staining on the silo and silage, and
- a bleach-like odor that may be present even at the base of the silo and in the milking parlor.
If you detect silo gases, leave the area immediately. Physical reactions to silo gases may not be noticeable immediately after your exposure, but damage to your lungs may have already occurred. (Click here to learn more about respiratory illnesses related to farming practices in production agriculture.)
The most common silo gases are carbon dioxide (CO2) and nitrogen dioxide (NO2). Types and concentrations of silo gas vary depending on whether the silo is a conventional silo or oxygen-limiting silo and how much time has passed since the silage was placed in the silo.
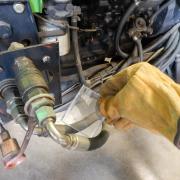
Conventional Silos

Conventional Silo
(Source: Pennsylvania State University. Agricultural Safety and Health)
Conventional silos are often constructed of concrete staves held together with steel hoops, but some are made of reinforced concrete, steel, galvanized tile, or brick.
The most abundant type of gas in a conventional silo is nitrogen dioxide, which has a bleach-like odor and produces low-lying yellow, red, or dark brown fumes. Because it is heavier than air, nitrogen dioxide settles on top of the silage or flows down the chute and collects in adjoining feed rooms or other low-lying areas in the barn near the base of the silo.
Nitrogen dioxide begins to form within hours after the forages are ensiled, with the amount of gas peaking about three days after harvest. From that point, the amount of gas begins to decrease rapidly.
Nitrogen dioxide is harmful because it causes severe irritation to the nose and throat, which can lead to lung inflammation. After low-level exposure to nitrogen dioxide, a person may experience very little immediate pain or discomfort but may later suffer from fluid collection in the lungs that may be fatal. Prolonged or recurring pneumonia-like symptoms can occur two to six weeks after initial exposure. Any person who has been exposed to any level of nitrogen dioxide, for even a short period of time, should seek immediate medical attention.
Oxygen-Limiting Silos
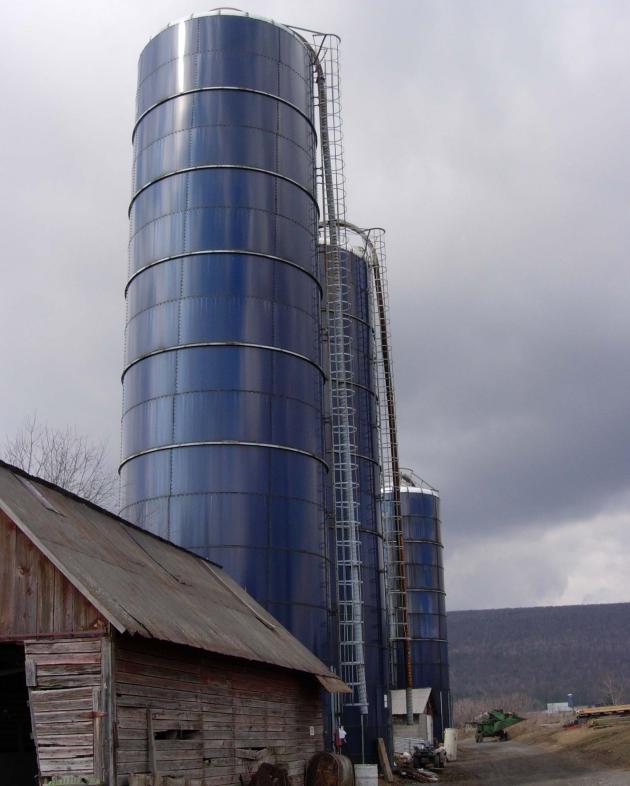
(Source: Pennsylvania State University. Agricultural Safety and Health)
An oxygen-limiting silo is constructed of dark blue or green enamel-coated steel, poured reinforced concrete, or concrete staves. Oxygen-limiting silos are designed so that entering the silo is typically unnecessary.
In this type of silo, the fermentation process produces both nitrogen dioxide and carbon dioxide. The conditions in an oxygen-limiting silo promote greater production of carbon dioxide, which helps maintain high-quality silage.
Carbon dioxide is an odorless and colorless gas that displaces the life-sustaining oxygen in a silo. When levels of carbon dioxide are high, a person may have little warning before being overcome by this gas.
Modified Oxygen-Limiting Silo
A modified oxygen-limiting silo is an oxygen-limiting silo that has been modified with a different type of unloading system. The unloading system is located on the top of the silage and unloads through a hollow center chute. An oxygen-limiting silo can also be modified with the addition of a conventional top-unloading system, unloading doors, and a chute along the outside of the silo tower. Silos with a top-unloading system typically have a domed roof to provide space for the tripod that suspends the unloader.
As in an unmodified oxygen-limiting silo, the respiration and fermentation process converts the oxygen in the silo into carbon dioxide. The design of a modified oxygen-limiting silo typically makes entry unnecessary.
Decreasing the Risk of Exposure to Silo Gases in Conventional Silos
-
Ventilation: When you use a conventional silo on your farm or ranch, ventilation is the best defense against nitrogen dioxide buildup in areas of your barn and the best away to lower the risk to your livestock.
- Provide adequate ventilation in and around your silo during the first 72 hours of silage fermentation and for at least two to three weeks after filling the silo.
- Keep the door between the silo room and the barn closed.
- Consider using barn exhaust fans to blow air into the silo or feed room to decrease quantities of silo gases that may have flowed down the chute.
-
Timing: Avoid the silo during critical periods when silo gases are forming. Gas concentrations are highest between 12 and 72 hours after filling.
- If at all possible, do not enter the silo for two to three weeks after filling because of the high level of silo gases. If you must enter the silo during that time to level silage or set up an unloader, enter immediately after the last load is in and before the fermentation process begins—a period that may be only a few hours. (Follow the same precautions below if entry is required within four to six weeks after filling.)
- Prior to entry, run the silo blower for 15 to 45 minutes and keep it running while you are in the silo.
- Wear a self-contained breathing apparatus (SCBA) and a harness attached to a lifeline and anchor point.
- Always maintain visual contact with a second person outside the silo.
- If the level of the silage is low, a silo blower will not provide enough ventilation to dilute the silo gases. Do not enter the silo without wearing an SCBA.
- Prior to entering any silo at any time, make sure that the power supply for all unloading mechanisms is locked out.
-
Personnel: Never enter a silo unless there is another person present outside the silo who can quickly get help if necessary. This person should maintain visual contact with you at all times because if you are overcome by silo gas, you may not be able to call out for assistance.
-
Personal Protective Equipment (PPE): If, in an emergency, it is necessary to enter a silo containing silage, the individual entering the silo must wear an SCBA. Click here to learn more about respiratory protection equipment.
-
Signage: Post appropriate signage warning people of the potential for silo gases. By posting “Danger—Deadly Silo Gas” signs around the base of the silo, you are warning visitors, family members, and workers to stay away from the area.
Additional Recommendations
- Keep children away from the silo and adjoining areas during filling and for at least two weeks after.
- When uncovering the filler opening, stay positioned on the ground and use a rope to pull the cover off the filler opening. Remove the cover several days before you start using the silage.
- If you begin to cough or experience throat irritation while working near a silo, move to a source of fresh air immediately.
Sources
Atia, A. (2004) Silo gas (NO2) safety. Agri-Facts. Retrieved from http://www1.agric.gov.ab.ca/$department/deptdocs.nsf/all/agdex9036/$file/726-1.pdf?OpenElement.
Cyr, D. and Johnson, S. (2002) Upright silo safety. University of Maine Cooperative Extension. Retrieved from http://umaine.edu/publications/2305e/.
McFadden, M. (2011) Beware of silo gases. Michigan State University Extension. Retrieved from http://news.msue.msu.edu/news/article/beware_of_silo_gas.
Murphy, D. (2013) Silo gases—the hidden danger. Pennsylvania State University Cooperative Extension. Retrieved from https://extension.psu.edu/silo-gases-the-hidden-danger. .
Murphy, D. and Arble, W. (2000) Extinguishing fires in silos and hay mows. New York: Natural Resource, Agriculture, and Engineering Service.
Reviewed and summarized by
Linda M. Fetzer, Pennsylvania State University – lmf8@psu.edu
Dave Hill, Pennsylvania State University (Has since retired)
Dennis J. Murphy, Pennsylvania State University (Has since retired)
J. Samuel Steel, Pennsylvania State University (Has since retired)